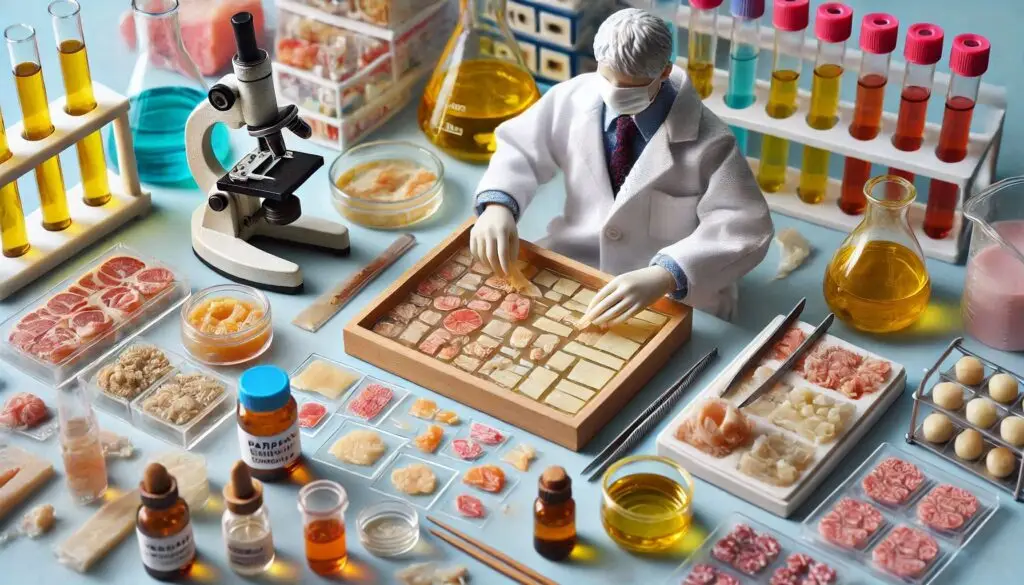
Paraffin embedding technique of Tissue Processing

Introduction
Paraffin embedding plays a vital role in histology and pathology labs. This technique helps prepare tissue samples for microscopic analysis. In this guide, you will gain a thorough understanding of the paraffin embedding process and learn how to optimize it for your specific needs.
The Paraffin Embedding Process
The paraffin embedding technique consists of several key steps. Each step is crucial for ensuring the quality of the final tissue sections. Let’s explore each step in detail:
1. Fixation
Fixation marks the first step in the paraffin embedding process. In this step, you treat the tissue with a fixative, commonly formalin, to preserve its structure and prevent degradation. This step stabilizes proteins and cellular structures within the tissue, ensuring they maintain their original form throughout the embedding process.
2. Dehydration
After fixation, you must dehydrate the tissue to remove water, which does not mix well with paraffin. Typically, you achieve this through a series of graded alcohol solutions (e.g., 70%, 96%, and 100% ethanol). Gradually removing water from the tissue is essential for successful embedding.
3. Clearing
Next, treat the tissue with a clearing agent such as xylene or a xylene substitute. This step replaces alcohol with a medium that mixes well with paraffin, allowing for better infiltration of the wax. As you clear the tissue, observe how translucent the sample becomes to check the infiltration of the clearing agent.
4. Infiltration
Infiltration involves immersing the tissue in melted paraffin wax. Typically, you perform this step at a temperature of around 60°C. Since paraffin has a melting point between 40°C and 70°C, the tissue should remain in the paraffin long enough to ensure complete saturation. The time required may vary based on the size and type of tissue.
5. Embedding
Once the tissue fully absorbs the paraffin, place it in a mold filled with more melted paraffin. After you cool the mold, the wax solidifies, forming a paraffin block that encases the tissue. You can store this block at room temperature for extended periods, making it convenient for future sectioning and analysis.
6. Sectioning
The final step involves using a microtome to cut thin sections (usually 4-10 micrometers thick) from the paraffin block. After you cut the sections, mount them on glass slides and stain them for microscopic examination.
Optimizing the Paraffin Embedding Process
To ensure the best embedding quality, carefully prepare the samples and troubleshoot any issues that arise during the process. Here are some tips for optimizing the paraffin embedding technique:
Sample Preparation
Before starting the embedding process, ensure that you properly fix and label the tissue samples. Use embedding cassettes to keep the samples organized and prevent mix-ups.
Dehydration and Clearing
During the dehydration and clearing steps, use fresh reagents and replace them regularly to maintain their effectiveness. If you have stored samples in 70% ethanol before embedding, you only need one 30-minute incubation in 70% ethanol during the dehydration series.
Paraffin Infiltration and Embedding
When transferring the samples to the melted paraffin, work quickly because the paraffin solidifies below 56°C. If the paraffin becomes too hard, you can add substances to modify its hardness, viscosity, and fragility.During the embedding step, ensure that the paraffin completely surrounds the sample and that no air bubbles remain. If you notice any impurities, such as white floccus, it may indicate excessive clearing agent in the paraffin. In this case, replace it with fresh paraffin.
Troubleshooting
If you encounter issues during the sectioning process, such as tissue disintegration or crumbling sections, try the following troubleshooting tips:
- If a cavity appears in the center of the sample, it may indicate incomplete dehydration. Increase the dehydration time or use fresh reagents.
- If a white circle appears in the center of the tissue accompanied by a strong odor of the clearing agent, it suggests inadequate paraffin infiltration. Move the sample to fresh melted paraffin and prolong the infiltration time.
- If sectioning proves difficult and the slices crumble, pack a precooled iron sheet on the surface of the paraffin block for 10-15 seconds. This can help rescue the situation caused by excessive dehydration or clearing.
Applications of Paraffin Embedding
Paraffin embedding proves crucial in both clinical and research settings. This technique allows for the preservation of tissue morphology and works well with various staining techniques, including immunohistochemistry and histological stains. These features facilitate the study of cellular structures and pathology.Some common applications of paraffin embedding include:
- Diagnostic Histopathology: Study abnormal cell and tissue structures.
- Biomedical Research: Investigate tissue structure and gene expression patterns.
- Three-Dimensional Reconstruction: Create fine structures based on thin histological sections.
Conclusion
Paraffin embedding serves as a fundamental technique in histology and pathology labs. This process enables the preparation of tissue samples for microscopic analysis. By following the steps outlined in this guide and troubleshooting any issues that arise, you can optimize your tissue processing and obtain high-quality tissue sections for your research or diagnostic needs.
For more pearls of Vets Wisdom:
https://wiseias.com/partitioning-of-food-energy-within-animals/


Responses